Easy Sourdough Starter Recipe (Step-By-Step Guide)
This sourdough starter recipe is perfect for beginners or people struggling to make a healthy and active starter. It is super easy to make and doesn’t require constant attention and feedings. All you need is water and flour, and a bit of patience.
As a sourdough starter is the foundation of good sourdough bread, creating a strong sourdough starter from scratch is essential. This is why a simple and easy-to-follow recipe is needed for everyone to be successful in their sourdough journey.
What is a sourdough starter:
A sourdough starter is a flour and water concoction that turns into a live colony of wild yeast and lactic acid bacteria living in symbiosis. The yeast and bacteria in the starter have a mutually beneficial relationship where they share the nutrients in the food and protect each other from unwanted microorganisms trying to invade their ecosystem.
One of the by-products of the wild yeast is ethanol, which creates a great environment for the lactic acid bacteria to thrive. The bacteria produces lactic acid and acetic acid, which in turn, creates a low PH environment for the wild yeast to thrive and keep unwanted invaders at bay ( sourdough starter PH is between 3.5 and 5). This PH keeps the “good guys” comfortable and the “bad guys” away).

How does a sourdough starter work to make sourdough bread:
When your sourdough starter is well-established and active, you can use it to bake sourdough bread by replacing the commercial yeast with sourdough starter to ferment and leaven your dough.
The yeast will consume the carbohydrates in the flour and produce ethanol and carbon dioxide (CO2) which will leaven the dough (make your sourdough bread rise). The carbon dioxide will get trapped in the gluten network of the flour and expand during baking. The more carbon dioxide and the stronger the gluten development, the better the rise of the bread. The bacteria uses the enzymes from the yeast cells to break down the starches in the flour into simple sugars which they then consume and produce lactic acid and acetic acid. These acids create an acidic environment that protects the ecosystem from unwanted microorganisms. They also give the dough that distinct sour flavor (sour dough). The lactic acid is the same bacteria that sour milk to make yogurt and other fermented dairy products.
Ingredients needed for a sourdough starter:
You only need two ingredients to make a sourdough starter from scratch. But the quality of the ingredients is important.
Water: filtered water is needed for a successful starter as the chlorine added in tap water will inhibit the growth of the yeast and bacteria. I don’t recommend using distilled water or reverse osmosis (without the added minerals) either as these types of water are completely stripped of minerals and live organisms.
Flour: this sourdough starter recipe uses organic stoneground rye flour. You can use any flour you like (with a protein content of around 12%) but in my experience, this creates a healthy and robust starter in the shortest amount of time. Please note that, once the starter is well established, you can switch to white flour and maintain it like that if you wish (once a starter is mature it is very malleable).
The reason I recommend using whole grain flour to create a sourdough starter is because they have a higher content of wild yeast and bacteria. These flours are milled whole, leaving the bran, germ, and endosperm in. This is where the yeast and bacteria live and so they remain in the resulting flour. White flour is stripped during the milling process so less yeast and bacteria are left in the end product.
Rye flour is also rich in enzymes which aid the bacteria in the feeding process.
I choose to use organic flour to yield the best results as some non-organic crops are sprayed with pesticides and fungicides. As a result, the population of yeast and bacteria can be weak or close to non-existent. However, using non-organic flour can still create a healthy sourdough starter. It might just take longer and be more susceptible to unwanted microorganisms. It is still doable if this is the only flour you have access to.
If you want to use white flour, choose non-bleached flour as the chemicals used to bleach the flour can also impede the growth of yeast and bacteria. Please note: in the UK and EU, white flour bleached chemically is banned, so you don’t have to worry about it.
Tools needed to make a sourdough starter:
All you need is a small wide-mouth glass jar (or plastic container) with a normal screw lid (1 pint/16oz/500ml) and a kitchen scale. Yes, you do need a kitchen scale for accurate measuring. This way you will create a foolproof starter. You need to measure the flour and water by weight to ensure you have the exact amount. A cup of water does not weigh the same as a cup of flour. And the variations between a cup of flour measured by different people can be significant.
How to make a sourdough starter from scratch:
The whole process takes about 7 to 10 days, if you use rye flour and keep it in the right environment, or up to 14-20 days if using regular white flour.
Make sure to clean your container, tools, and counter before you start. You don’t need to sterilize them. Just a good clean will do. Remove any food products prone to molding from around the area where you will keep the starter.
Weigh your jar without the lid on the kitchen scale. Keep a note of that as it will make it easier for you when you feed your starter.
Keep your starter away from direct sunlight or heat. The first few days of your starter are critical to ensure success. The ideal temperature of the environment while your starter is establishing should be somewhere around 20°C (68°F)–21°C (69.8°F) or take. Once you start the discard and feed process, your environment temperature can be higher to speed up the fermentation process (around 23°C/ 73.4°F). Low temperatures are fine but the whole process will take longer.
Start your sourdough starter at the time of the day you are usually free to deal with it. You will need consistency until your starter is mature.
DAY 1: Mix the flour and water in the designated jar. Make sure everything is well incorporated. Put the lid on but don’t tighten it. Give it some wriggle room. Don’t use a cloth, paper towel, or coffee filter. You risk cross-contamination and the top of your starter to dry out.
DAY 2: You will most likely see no activity (or just a few small bubbles on the surface) and it will smell of flour and water. Give it a good mix with a clean spoon, put the lid on, and leave it alone.

DAY 3: You might see lots of small bubbles on the surface (or some foamy bubbles). It should smell a bit sour or funky. This is the “epic battle” day where the “good guys” are winning and the “bad guys” are dying. In the process of dying the bad microorganism might produce by-products that can give a false rise in your starter. Do not be fooled by this. Your starter is not ready to use. Stir well with a clean spoon, put the lid on, and leave it alone.


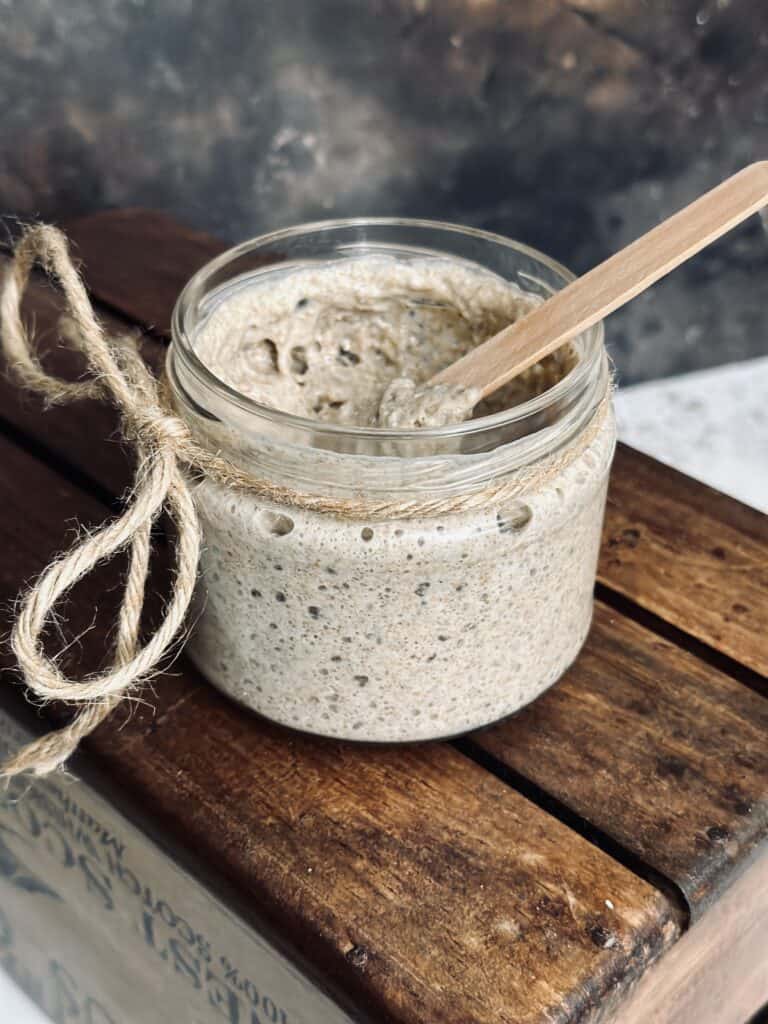
DAY 4: You will see some small bubbles on the surface, just like the previous day, but the texture becomes more liquid as the yeast and bacteria start to consume the flour. The smell should be slightly sour and acidic. It can be either fruity or yogurt-like. Mine smelled like fermented apples. Don’t panic if it smells a bit funky. As long as you don’t see mold, red or pink strikes on the surface, or yellow patches, it should be fine. If you see any of these bad signs, discard the starter and start over.

This is the first time you need to discard and feed your starter. Discard all but 50g of the starter. DO NOT USE THE DISCARD as it can contain harmful organisms and by-products. Throw it away for now. Never throw discard in the sink as it will harden and turn into cement in the pipes. Feed it 50g of rye flour and 50 g of water. Mix well. You will now have a thicker starter than previously. Put the lid on and leave it alone.
DAY 5: You might see small bubbles on the surface but no major activity. Stir it, put the lid on, and leave it alone. It should have a slightly sour smell.
DAY 6: Same as day 5. Usually, days 4 to 6 are “quiet days”.
DAY 7: Same as day 6 but you will notice it become more liquid. The yeast and bacteria are consuming the food. Now you can discard all but 50g and feed 50g water and 50g rye flour. This is called a 1:1:1 ratio (equal parts of starter, flour, and water). Do not use the discard still. Throw it away. Put a rubber band around your container to check for growth. Make sure you adjust it to the level of the starter for accurate measuring.

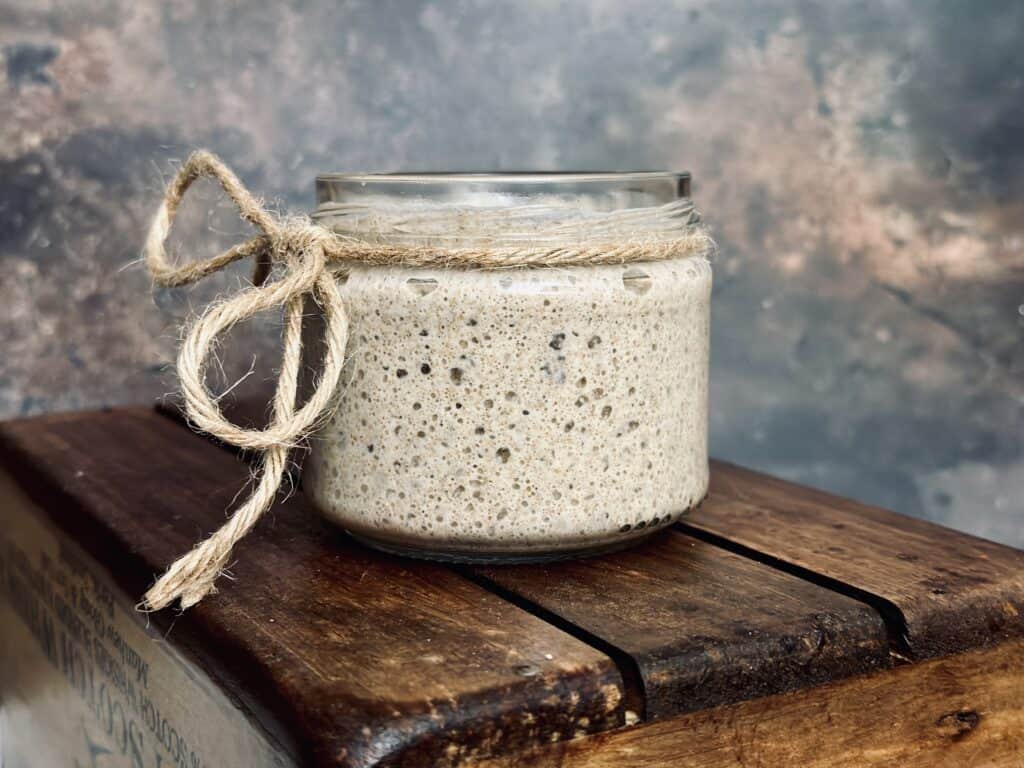
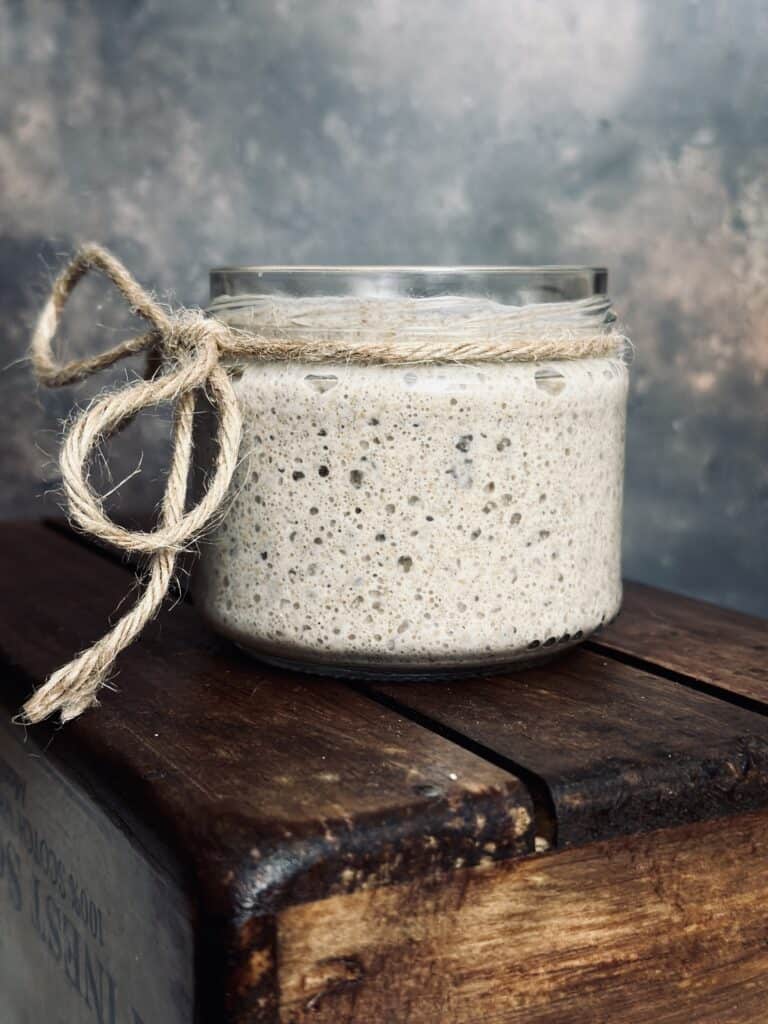
DAY 8: You should see a growth in size or just lots of bubbles throughout the starter, not just on the surface. If it doubles in size in 4-6 hours, you need to feed and discard it once it deflates to its original size. If it has a bit of growth but not doubling, leave it alone until it deflates back to normal. If no growth at all leave it and check back the next day.
DAY 9: If your room is warm enough, your starter should now start to double in 4-6 hours. If not, move it to a warm area and feed it warm water (around 38°C/100°F-it feels slightly warm when you dip your finger in) instead of room temperature (not hot water). Discard all but 50g of your starter and feed it 50g rye flour and 50g water. If it doubles, wait for it to deflate before discarding and feeding.
DAY 10: Most people have an active starter now. It should double in 4-6 hours before it is ready to use in baking. Now it is safe to use the discard in recipes. You can now bake your first sourdough bread. You need to keep it on the counter for a couple more days and feed and discard it every 24 hours. If the starter looks like it is starving after 24 hours, you should either increase the feeding ratio to 1:2:2 (by weight – 1 part starter, 2 parts flour, 2 parts water) or increase the frequency of feeding (every 12 hours). If this is not enough, you can further increase the ratio. But remember, a starter can only be starving if it has doubled and completely deflated in that 24-hour time window. Do not feed if it hasn’t doubled and deflated first. Read below for signs of starvation in a starter.

How to know if a sourdough starter is starving:
A starving starter will smell strongly of acetone or varnish, and it might have a dark color and watery layer on the surface called “hooch”. Hooch is the by-product of yeast called ethanol. If that happens, all you need to do is mix the hooch in, discard, and feed.
Note: if you get water separation in the first few days of a sourdough starter, that is not hooch. Hooch can only occur once the yeast population is well established. If you get water separation, all you need to do is mix it in and feed it a bit more flour than water to make it thicker.
Ideally, a sourdough starter should not be left to starve and be fed when it looks hungry (deflated to its original size and has become more liquid than when it has been fed. But if it does happen, no big deal. Just pay attention to your feeding schedule and quantity.

Here are some delicious sourdough discard recipes you can make:
Coffee cookie sandwiches with mascarpone filling
And if your first loaf of bread is not that great, don’t frail. It gets better with time and experience. Your starter will mature and produce some amazing results. Here’s a delicious French toast casserole you can make with “not-so-perfect” leftover sourdough bread.
How to maintain a sourdough starter:
- You have the option to either keep it on the counter (if you bake often) or pop it in the fridge (if not). If you keep it in the fridge, I recommend feeding it once a week, if you are not using it. But it can last for months in the fridge, as long as it doesn’t get moldy. It will need a few feeds before it gets back in shape, but no damage is done. I also freeze a small portion of my fed starter, to be on the safe side. You can then thaw it in the fridge and feed it a few times to revive it.
- My preferred ratio of feeding my starter once it has been established and matured is 1:2:2 at 100% hydration (equal parts flour and water). Be aware that at this feeding ratio, the starter will take a bit longer to double in size. The higher the rate, the longer it takes.
- I keep my starter in the fridge with a tight lid on at 5°C (41°F). I put it in the fridge right when it reaches its peak.
- I use my starter straight from the fridge if it has been recently fed or take it out and give it a feed before using it in baking if it looks hungry.
- You usually need about 50-150g of starter per recipe, so you don’t have to maintain a large amount of starter. You can use as little as 10g of starter to feed. This will result in a 10g starter + 20g flour + 20g water = 50g total starter. You can then use 40g of the starter and leave 10g for the next feed.
If you have any questions please ask away in the comment section below, and I will be happy to help.
HAPPY BAKING!
Bake your first sourdough bread using my super easy sourdough bread for beginners.

Easy Sourdough Starter Recipe (Step-By-Step Guide)
Equipment
- 1 Wide-mouth glass jar (or plastic container) with a normal screw lid (1 pint/16oz/500ml)
- 1 Kitchen scale
Ingredients
For creating the starter
- 100 g filtered water (no chlorine)
- 50 g whole grain rye flour (I used organic)
For the feedings
- 150 g filtered water
- 150 g whole grain rye flour
Instructions
- DAY 1: Mix the flour and water in the designated jar. Make sure everything is well incorporated. Put the lid on but don't tighten it. Give it some wriggle room.
- DAY 2: You will most likely see no activity (or just a few small bubbles on the surface) and it will smell of flour and water. Give it a good mix with a clean spoon, put the lid on, and leave it alone.
- DAY 3: You might see lots of small bubbles on the surface (or some foamy bubbles). It should smell a bit sour or funky. Stir well with a clean spoon, put the lid on, and leave it alone.
- DAY 4: You will see some small bubbles on the surface, just like the previous day, but the texture becomes more liquid as the yeast and bacteria start to consume the flour. The smell should be slightly sour and acidic. Don't panic if it smells a bit funky. If you see mold, throw it away and start over. If not, Discard all but 50g of the starter. Feed it 50g of rye flour and 50 g of water. Mix well. You will now have a thicker starter than previously. Put the lid on and leave it alone.
- DAY 5: You might see small bubbles on the surface but no major activity. Stir it, put the lid on, and leave it alone. It should have a slightly sour smell.
- DAY 6: Same as day 5. Usually, days 4 to 6 are "quiet days".
- DAY 7: Same as day 6 but you will notice it become more liquid. The yeast and bacteria are consuming the food. Now you can discard all but 50g and feed 50g water and 50g rye flour. Put a rubber band around your container to check for growth.
- DAY 8: You should either see a growth in size or just lots of bubbles throughout the starter, not just on the surface. If it doubles in size in 4-6 hours, you need to feed and discard it once it deflates to its original size. If it has a bit of growth but not doubling, leave it alone until it deflates back to normal. If no growth at all leave it and check back the next day.
- DAY 9: If your room is warm enough, your starter should now start to double in 4-6 hours. If not, move it to a warm area and feed it warm water (around 38°C/100°F-it feels slightly warm when you dip your finger in) instead of room temperature (not hot water). Discard all but 50g of your starter and feed it 50g rye flour and 50g water. If it doubles, wait for it to deflate before discarding and feeding.
- DAY 10: Most people have an active starter now. It should double in 4-6 hours before it is ready to use in baking. You can now bake your first sourdough bread. You need to keep it on the counter for a couple more days and feed and discard it every 24 hours. If the starter looks like it is starving after 24 hours, you should either increase the feeding ratio to 1:2:2 (by weight – 1 part starter, 2 parts flour, 2 parts water) or increase the frequency of feeding (every 12 hours). If this is not enough, you can further increase the ratio. But remember, a starter can only be starving if it has doubled and completely deflated in that 24-hour time window. Do not feed if it hasn't doubled and deflated first.